Last updated November 21, 2026
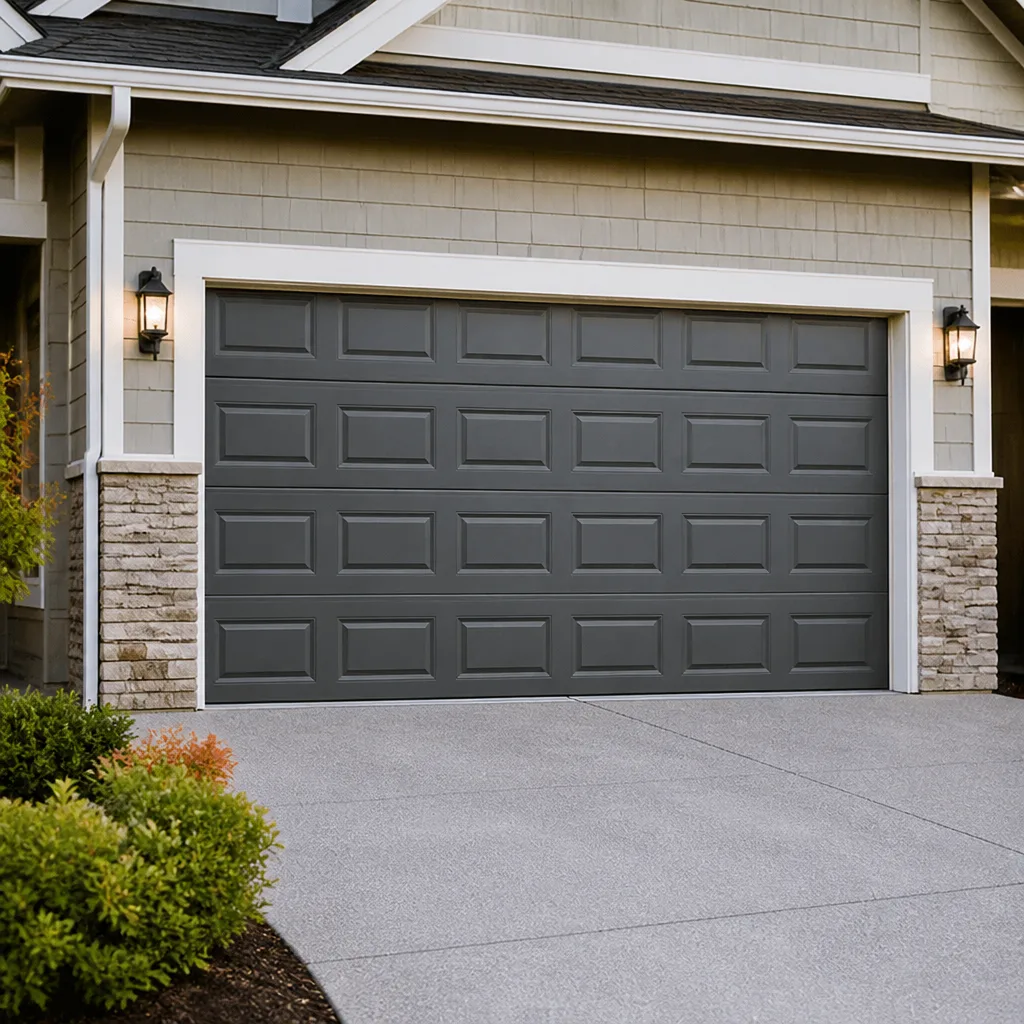 Raised-panel steel
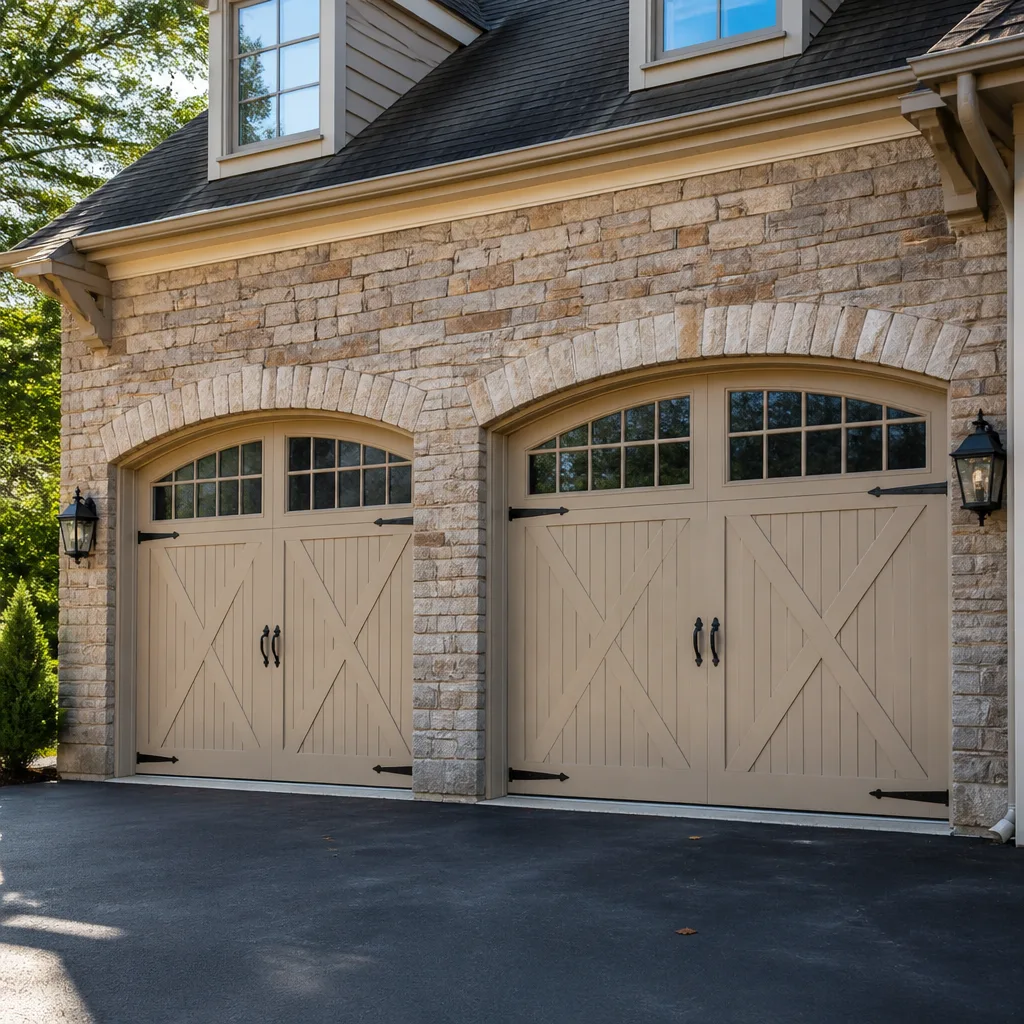 Carriage house
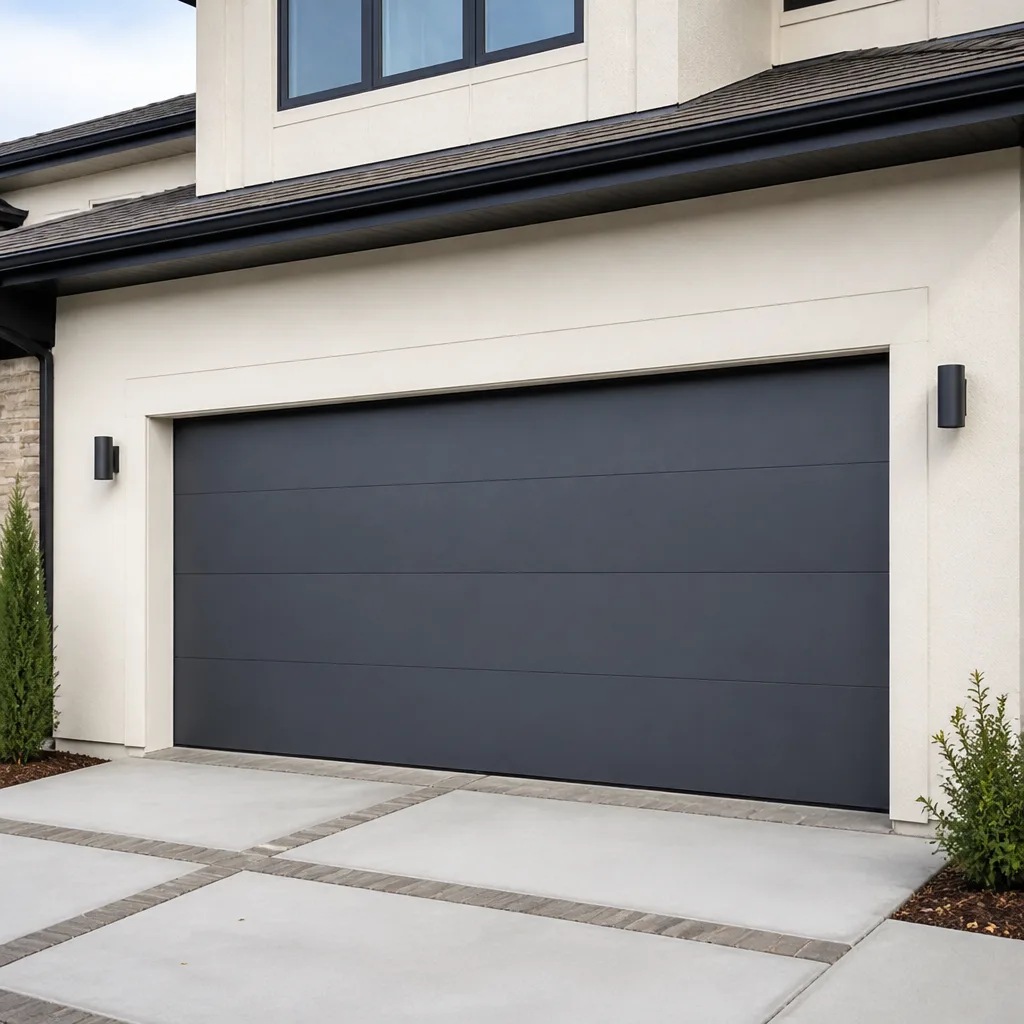 Modern flush
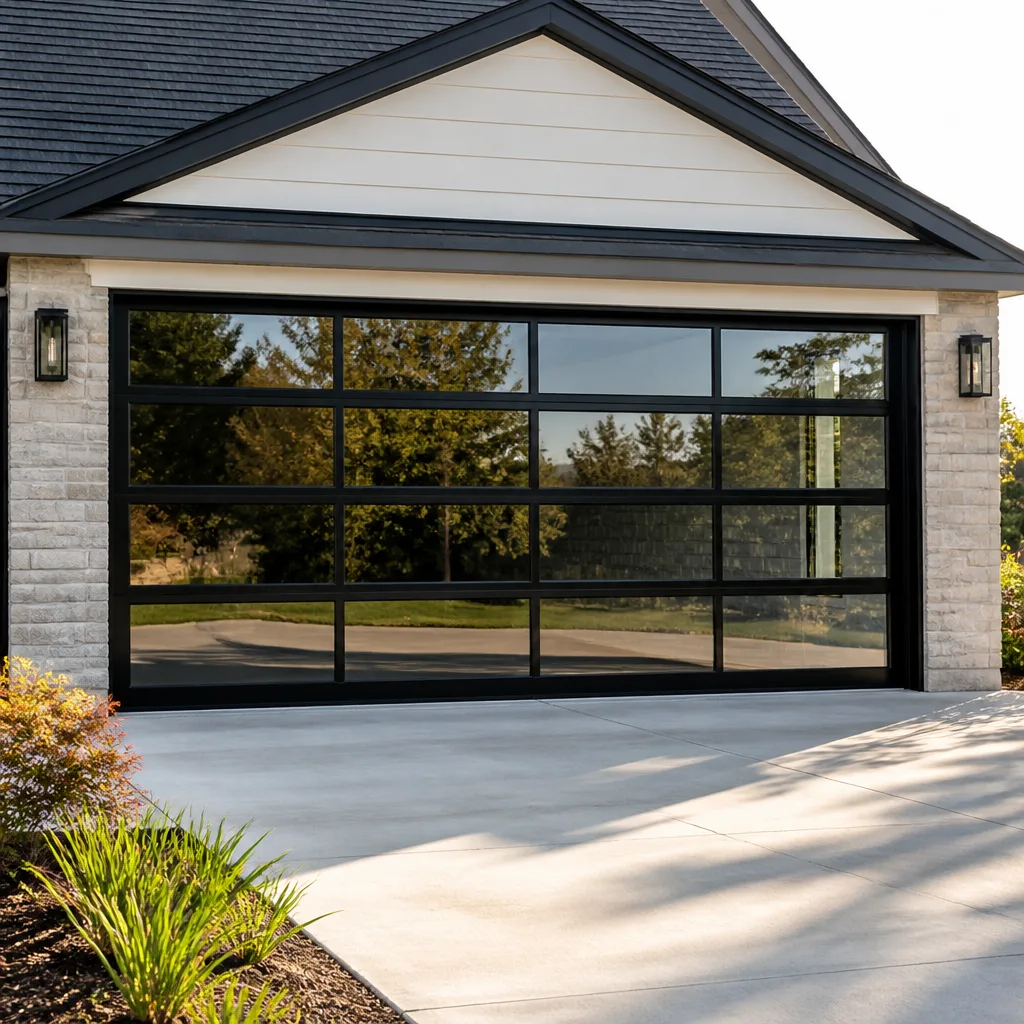 Full-view glass
 LiftMaster openers
 Chamberlain openers
Full 25-point door and opener safety check with every visit - springs, cables, rollers, tracks, and your LiftMaster or Chamberlain opener included
You get a price before we start. It does not change when the pro arrives.
Get your free estimateGarage Door Repair Maintenance Checklist for Hell’s Kitchen Homeowners
Most garage door failures in Hell’s Kitchen don’t start with age. They start with skipped lubrication on hardware that lives in one of the hardest environments in the city: road salt tracked in off the West Side Highway, exhaust from idling cars, and humidity that never quite dries out. A checklist built for a suburban garage with a long driveway and clean air doesn’t translate to a tight Manhattan bay, so we wrote one that does. Below you’ll find a month-by-month, season-by-season routine tuned to how doors actually wear in Hell’s Kitchen, a no-tools visual inspection protocol, the corrosion points that go first on west-side hardware, and the red flags that mean you stop and call a specialist.
Quick Answer
A working maintenance routine for a Hell’s Kitchen garage door means lubricating hinges, rollers, and the torsion bar monthly, checking the balance and auto-reverse monthly, inspecting cables and rollers visually every quarter, and scheduling a professional tune-up once a year. The tasks that matter most in this neighborhood are the ones tied to humidity, road salt, and tight clearances, not the generic list you’ll find on most manufacturer sites. If anything sounds or looks wrong during an inspection, stop and call a specialist rather than pushing through the checklist.
Styles & brands we work with
- Raised-panel steel
- Carriage house
- Modern flush
- Full-view glass
- LiftMaster openers
- Chamberlain openers
Table of Contents
- The Monthly Routine in a Hell’s Kitchen Garage
- The Quarterly Inspection: Cables, Rollers, and Balance
- The Annual Tasks Worth Doing Once a Year
- How NYC Climate Cycles Wear Down Hell’s Kitchen Doors
- Hardware That Corrodes Fastest on West-Side Manhattan Doors
- Testing Auto-Reverse and Photo-Eye Sensors in Tight or Dark Garages
- Red Flags That End the Checklist and Start a Specialist Call
- Common Mistakes to Avoid
The Monthly Routine in a Hell’s Kitchen Garage
Monthly maintenance on a Manhattan garage door takes about fifteen minutes if you know what to look at. The goal is to catch small friction problems before they become spring or opener failures, and to keep the door quiet enough that you’d notice a new noise right away. Hell’s Kitchen garages tend to be shallower than suburban ones, so you’re often working with the door in a half-open position and a flashlight rather than a full bay. That’s fine. Most of what matters is visible and audible.
Here’s the monthly list, in the order we’d run it:
- Visual sweep of the door and track. Walk both sides. Look for bent track, loose bolts, frayed cables, and anything hanging at an angle it shouldn’t. Don’t move anything yet, just note it.
- Lubricate hinges and rollers. A garage-door-specific lubricant, not WD-40. One short spray per hinge pivot and one per roller stem. Wipe off excess so it doesn’t collect grit from the street.
- Lubricate the torsion bar and springs (lightly). A very light film on the torsion bar bearings keeps them from squealing in cold weather. Don’t spray the spring coils themselves; a light wipe is enough.
- Test the balance. Disconnect the opener (pull the red release cord) and lift the door to waist height. It should stay there with little effort. If it drops or climbs, the springs are out of balance and that’s a professional job.
- Test the auto-reverse. Lay a piece of 2×4 flat on the floor under the closing door. The door should reverse on contact. If it doesn’t, stop and call us.
- Test the photo-eye sensors. More on this in the sensor section below. Quick check: wave an object across the beam while the door closes and confirm it reverses.
- Listen. Run the door up and down once. A healthy door is a gentle hum. Grinding, popping, or a bang means stop and investigate.
If you’re a property manager watching multiple bays in a Hell’s Kitchen building, this same routine scales. Run it on every door, log the date, and you’ll spot which units consistently need attention before they call you.
The Quarterly Inspection: Cables, Rollers, and Balance
Every three months, the inspection goes deeper. This is where you catch the slow problems that the monthly routine can miss: cables starting to fray, rollers wearing flat, and springs losing tension in ways you feel before you see. In Hell’s Kitchen, the extra humidity and salt exposure make this quarterly pass more important than it would be in a dry climate, because corrosion works faster here and hides under dust and road grime.
Visual cable inspection, no tools needed. Open the door and stand back. Look at the cables running from the bottom corners up to the drums at the top. What you’re checking for:
- Fraying. Any cable that looks like a frayed rope rather than a smooth steel strand needs replacement before it fails.
- Rust. Surface discoloration is normal; pitting or a rough texture means the cable’s strength is compromised.
- Slack. A cable loose enough to sag is a warning. Slack cables usually mean a spring problem.
- Kinks. A kinked cable has already lost most of its load capacity.
Roller inspection. Look at each roller where it meets the track. A healthy roller is round, quiet, and rolls smoothly. Worn rollers look flat-spotted, tilt in the track, or make a chattering sound as the door moves. Metal rollers in Hell’s Kitchen tend to wear faster than nylon because grit from the street gets caught in the bearing.
Balance recheck. Run the balance test again, more carefully. Disconnect the opener, lift the door to halfway, let go. It should hold. Then lift to three-quarters and let go. It should also hold. If either position lets the door drift, the springs are on their way out.
Track alignment. Run your eye down the length of each vertical and horizontal track. Any bend, dent, or obvious kink affects the door’s travel and stresses rollers. Light bends sometimes straighten; deep ones don’t, and a bent track can wreck a working opener.
If any of the four cable problems above shows up, keep the checklist at the visual stage. Cables carry live tension and can cause serious injury if handled wrong, so this is where a trained technician takes over.
The Annual Tasks Worth Doing Once a Year
Once a year, it’s worth having a garage door specialist run a full tune-up. Not because a homeowner can’t handle the monthly and quarterly routine, but because a specialist can measure things you can’t measure by eye: spring tension loss, opener force settings, and roller wear in the parts of the track you can’t easily see. In Hell’s Kitchen, this annual pass also catches the corrosion problems that build up over a year of salt, humidity, and road grit and that need a wire brush and fresh lubricant rather than a quick spray.
Here’s what an annual tune-up covers:
- Measure and adjust spring tension. Springs stretch over time, so the door’s balance drifts even when nothing looks wrong. A specialist adjusts them back to spec.
- Replace worn rollers and hinges in bulk. Rather than swapping one at a time as they wear, the annual pass replaces a matched set so the door travels evenly.
- Inspect and lubricate the opener. Grease the chain or belt, check the drive gear, and confirm the force settings match the current weight of the door.
- Test and recalibrate the auto-reverse force and sensor alignment. Both settings drift. Both get tested properly with a scale and a beam-break tool.
- Check the weather seal at the bottom. In a Manhattan garage, the bottom seal is what keeps out cold, water runoff, and street grit. It also takes the most abuse.
- Tighten every structural bolt. Vibration loosens them. This is the one thing that prevents most rattles.
- Clean and re-lubricate track and spring hardware. A real clean, not just a spray. Corrosion from a year of humidity needs to come off, not get covered.
We work on every major brand, so whether you’ve got an Amarr door that’s been in the bay for a while or a Wayne Dalton that’s starting to rattle, an annual tune-up is the same call. If the door is beyond maintenance and genuinely needs replacement, that’s what garage door installation covers, and we’ll tell you plainly rather than sell a tune-up the door doesn’t need.
How NYC Climate Cycles Wear Down Hell’s Kitchen Doors
Hell’s Kitchen sits in a stretch of Manhattan where the door’s operating environment is closer to a machine shop than a suburban house. Two climate cycles dominate the wear pattern, and both run harder here than most maintenance advice accounts for.
The winter cycle: cold, salt, and thermal stress. Manhattan winters bring repeated freeze-thaw swings. Metal expands and contracts with the temperature, which loosens bolts and pulls on springs. Road salt from the West Side Highway and cross-town streets gets tracked into garage bays and settles into the bottom of the door and the track. Salt accelerates corrosion on every steel component, and it does it fastest on the parts that don’t get looked at: the bottom hinges, the cable ends, the roller stems. A door that squeaked a little in October will often grind by February.
The summer cycle: humidity and stuck grit. Manhattan summer humidity keeps lubricant soft and dust sticky. The grit that settles into the track in winter clumps into abrasive paste in summer, which is why rollers wear faster in Hell’s Kitchen than the manufacturer’s spec sheet suggests. A door that ran quiet in May will start chattering by August if the track hasn’t been cleaned.
The practical adjustment: in Hell’s Kitchen, lubricate more often than the manufacturer recommends (monthly rather than quarterly), clean the track twice a year (once after winter, once mid-summer), and pay particular attention to the bottom two feet of the door, which is where salt and grit collect. If you’re in a building with an attached garage that opens right onto the street, your door sees more of both cycles than a walk-up garage does.
Hardware That Corrodes Fastest on West-Side Manhattan Doors
The parts that go first aren’t the ones people expect. Most homeowners assume the springs or the opener are the weak points, and they’re important, but the corrosion that ends up causing problems usually starts somewhere less obvious. Here’s where we find it, in rough order of failure speed on a Hell’s Kitchen door.
- Bottom brackets and hinge plates. Lowest point, closest to the floor, closest to road runoff. If you’re going to inspect anything first, inspect these.
- Roller stems. The stem that holds the roller in its hinge bracket is thin steel. When it rusts through, the roller pops and the door comes off the track.
- Cable ends and drums at the top of the door. The ends of the cables where they attach to the drum and to the bottom bracket see tension all day and moisture all year. This is where fraying starts.
- Hinge pivots. The joint between the hinge plates that let the door fold. When a pivot seizes, the hinge takes on load it wasn’t designed for and cracks.
- Opener chain or belt and rail. Chain rusts. Belt lasts longer, but the rail collects grit either way. If you’ve got an opener that’s been in a Hell’s Kitchen bay for a while and it’s started grinding, the drive mechanism is often the culprit. That’s what garage door opener repair is for.
- Weather seal at the bottom of the panel. Not metal, but it takes the most abuse and fails first. A torn seal lets water under the door, which accelerates corrosion on everything above it.
Two brands we see a lot of in older Hell’s Kitchen buildings are Craftsman and Raynor, both of which hold up well but both of which have specific weak points as they age: Craftsman doors often need hinge and roller replacement in the bottom two panels first, and older Raynor doors can drop their torsion spring long before the rest of the door shows wear. It’s worth knowing your brand so the annual tune-up hits the right parts first.
Testing Auto-Reverse and Photo-Eye Sensors in Tight or Dark Garages
Two safety tests matter on every door, and both matter more in a Hell’s Kitchen garage where lighting is often poor and the clearance between the door and the wall is tight. Neither test requires tools, but both require a specific approach to get a reliable result.
The auto-reverse contact test. The door has a pressure sensor that should stop and reverse when it hits something while closing. To test it:
- Lay a piece of 2×4 flat on the floor directly under the closing door, centered on the panel.
- Close the door using the wall button or remote.
- The door should contact the 2×4 and immediately reverse to the fully-open position.
- If the door presses down and holds, or needs to hit the 2×4 with force to reverse, the force setting is too high. That’s a safety problem and gets adjusted before the door is used again.
The photo-eye beam test. The two sensors mounted at the bottom of the tracks are aimed at each other, and if the beam is broken while the door is closing, the door must reverse.
- Stand between the sensors.
- Press the close button.
- Wave an object (a length of cardboard, an outstretched arm) across the beam before the door reaches the floor.
- The door must immediately reverse.
In a Hell’s Kitchen garage, the tricky part is often alignment. Tight bays mean the sensors sit close to a wall or a shelf, and dust from the street settles on the lens. Wipe both lenses with a dry cloth, then confirm the small indicator light on each sensor is lit and steady (not blinking). If the light blinks or is out, the sensors are out of alignment or the beam is blocked, and neither the checklist nor the door should run until that’s fixed.
A third safety check worth doing monthly: the wall-mounted button should be at least five feet off the floor and out of reach of children. In tight Manhattan garages, wall buttons sometimes end up at child height because there wasn’t room higher up. If yours is mounted low, that’s a fix worth making.
Red Flags That End the Checklist and Start a Specialist Call
The checklist is only useful if you know when to stop. Here are the things we tell every Hell’s Kitchen homeowner to treat as an immediate stop-and-call:
- A snapped torsion spring. If the door won’t open at all and you hear a loud bang, a spring has failed. Do not try to lift the door manually to inspect. Torsion springs carry enough force to cause serious injury. Call us.
- A door that’s come off one track. If a roller has popped out or the door is riding at an angle, stop using the opener and stop trying to fix it by hand. A door under spring tension that comes fully off the track is dangerous.
- Any visible fraying on the cables. The cables on a broken door are holding live load. Do not touch them. Do not try to “just tighten” them.
- The door slams down on close. If the auto-reverse doesn’t catch it, that’s a safety failure and possibly an opener force-setting problem. Stop using the door and call.
- Visible bend or crack in a spring coil. A cracked spring is going to fail. Don’t wait for it to snap.
- The opener runs but the door doesn’t move. Often a stripped gear, broken torsion bar, or the manual release was left pulled. All of these are quicker to diagnose on a service call than to chase by hand.
- A door that’s suddenly hard to lift or drops fast. Either the springs are on the way out or the door’s balance is badly off. Both are spring-tension problems and both get handled by a trained technician.
- Anything that feels like more force than it should. If you’re straining to lift the door with the opener disconnected, the door is telling you something is failing. Listen to it.
We take spring and cable work seriously because it’s the riskiest part of this trade. Our technicians are trained specifically on torsion and extension spring systems, and they’ll tell you as soon as they look at it whether the door is safe to keep using or needs to be shut down until the fix is done.
Common Mistakes to Avoid
- Using WD-40 as a lubricant. WD-40 is a water displacer, not a garage door lubricant. It attracts grit and dries out the parts that need to stay greasy. Use a garage-door-specific lubricant, especially in a Hell’s Kitchen garage where dust and salt are already a problem.
- Lubricating the track itself. The rollers need lubricant; the track surface doesn’t. Grease on the track collects every bit of street grit and turns the roller path into an abrasive strip within weeks.
- Ignoring a small squeak for months. Squeaks in Hell’s Kitchen garages are usually a sign of a loose hinge or a dry pivot, and both are easy to fix in the monthly routine. Let it go for six months and you’re replacing a hinge, or worse, a bracket.
- Trying to adjust the springs yourself. Torsion springs are wound to a specific number of turns and held under hundreds of pounds of force. A homeowner adjusting them by hand risks serious injury. This is the one part of the checklist that always ends with a specialist call.
- Testing the auto-reverse by pressing on the door by hand. Hand pressure doesn’t test the contact reverse reliably. The 2×4 test is the standard for a reason. If your door doesn’t reverse on a 2×4, it’s not passing the safety standard.
- Skipping the quarterly cable inspection because the door “sounds fine.” Frayed cables often sound fine right up until they fail. The visual check catches them before the noise starts.
- Assuming because it worked last winter, it’ll work this winter. Hell’s Kitchen winters stress hardware more each year as corrosion builds up. A door that handled last winter fine can crack a spring in the first cold snap if the annual tune-up got skipped.
See the difference
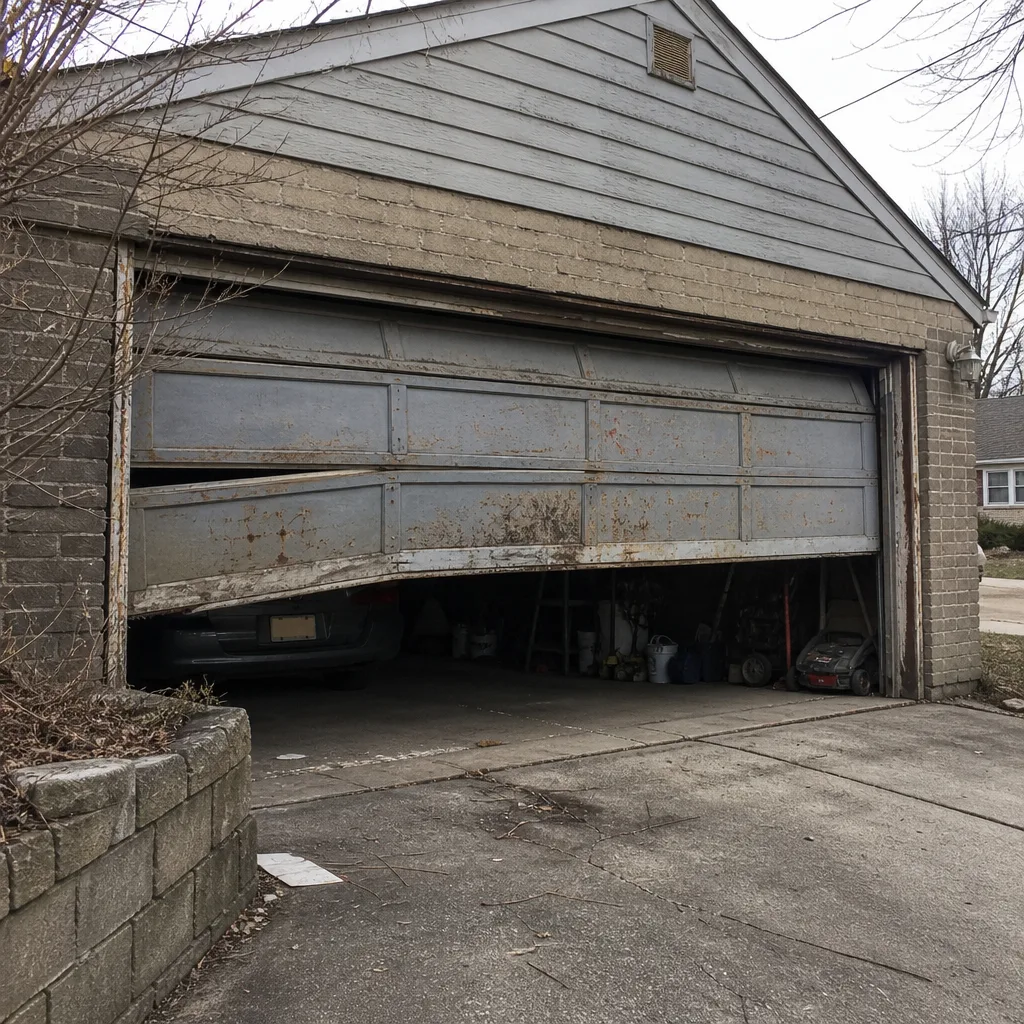 Before
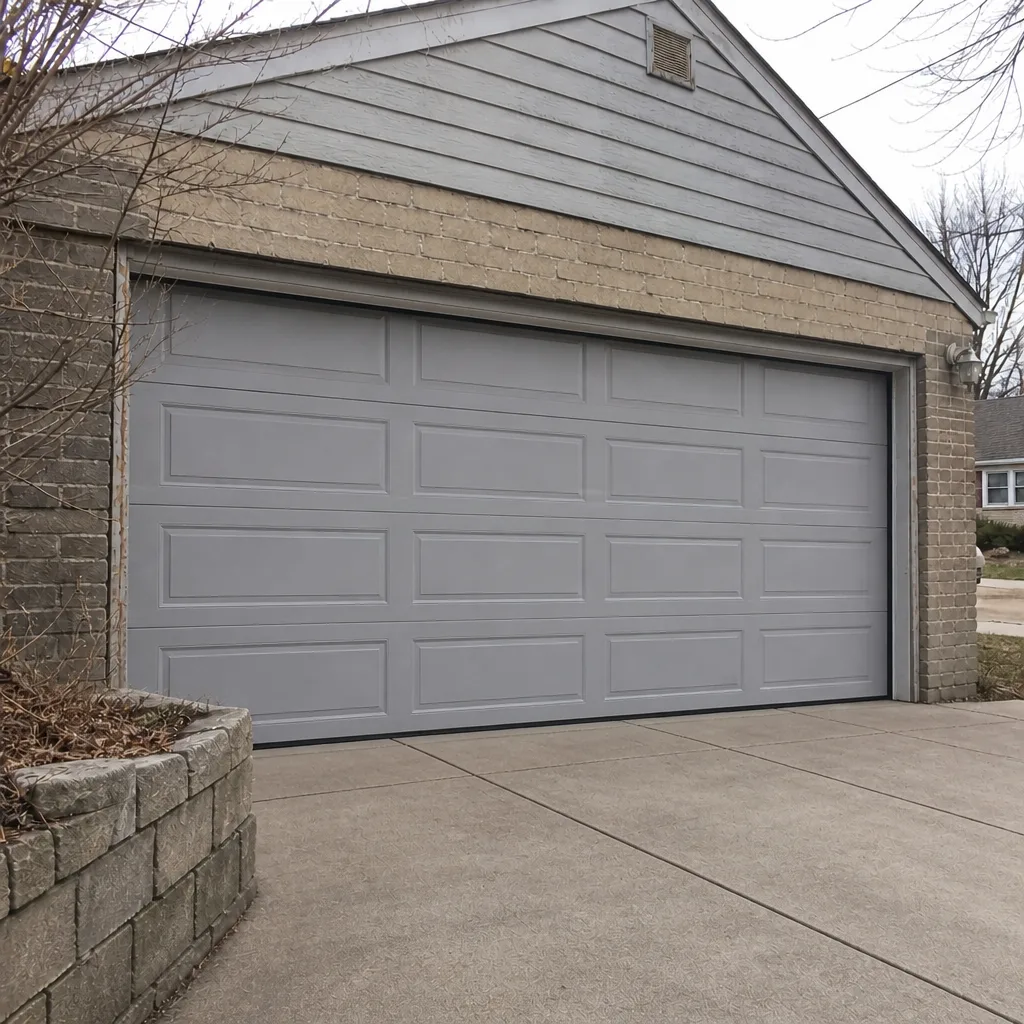 After
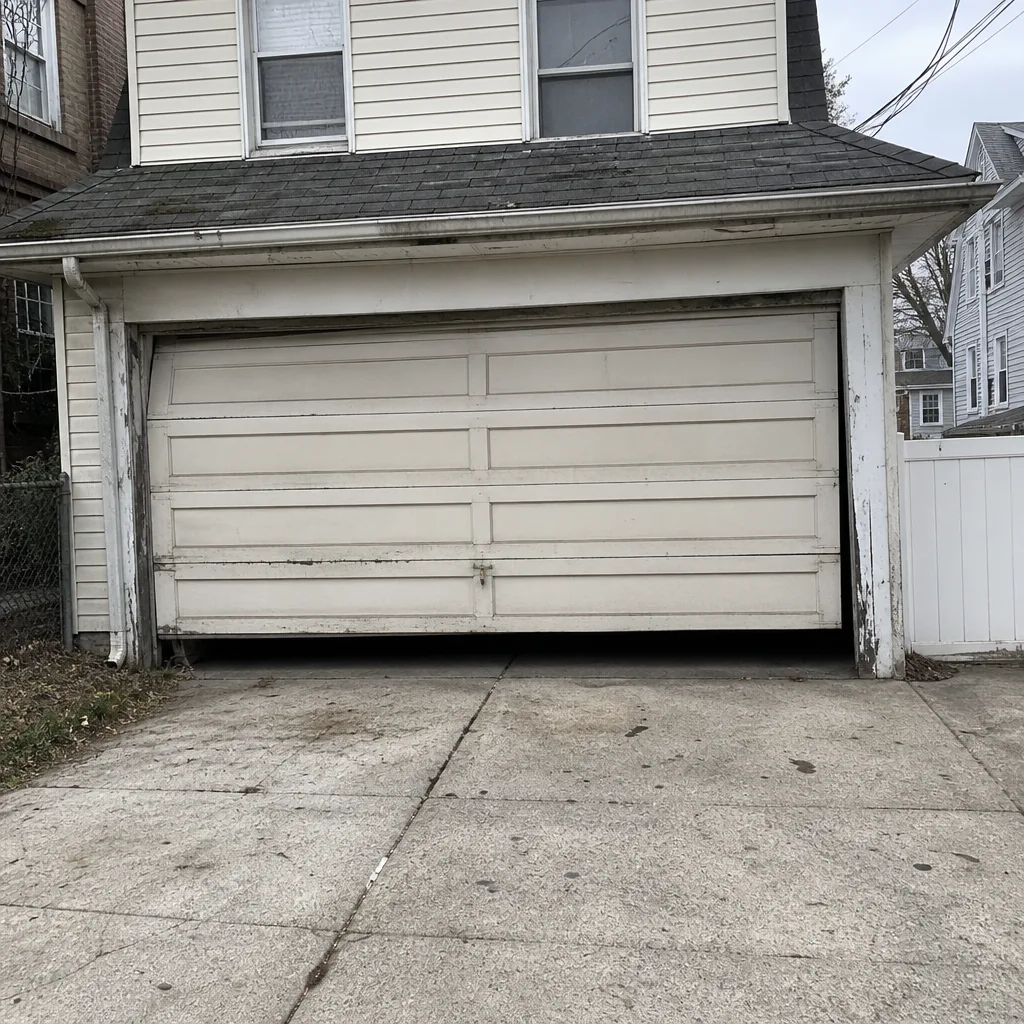 Before
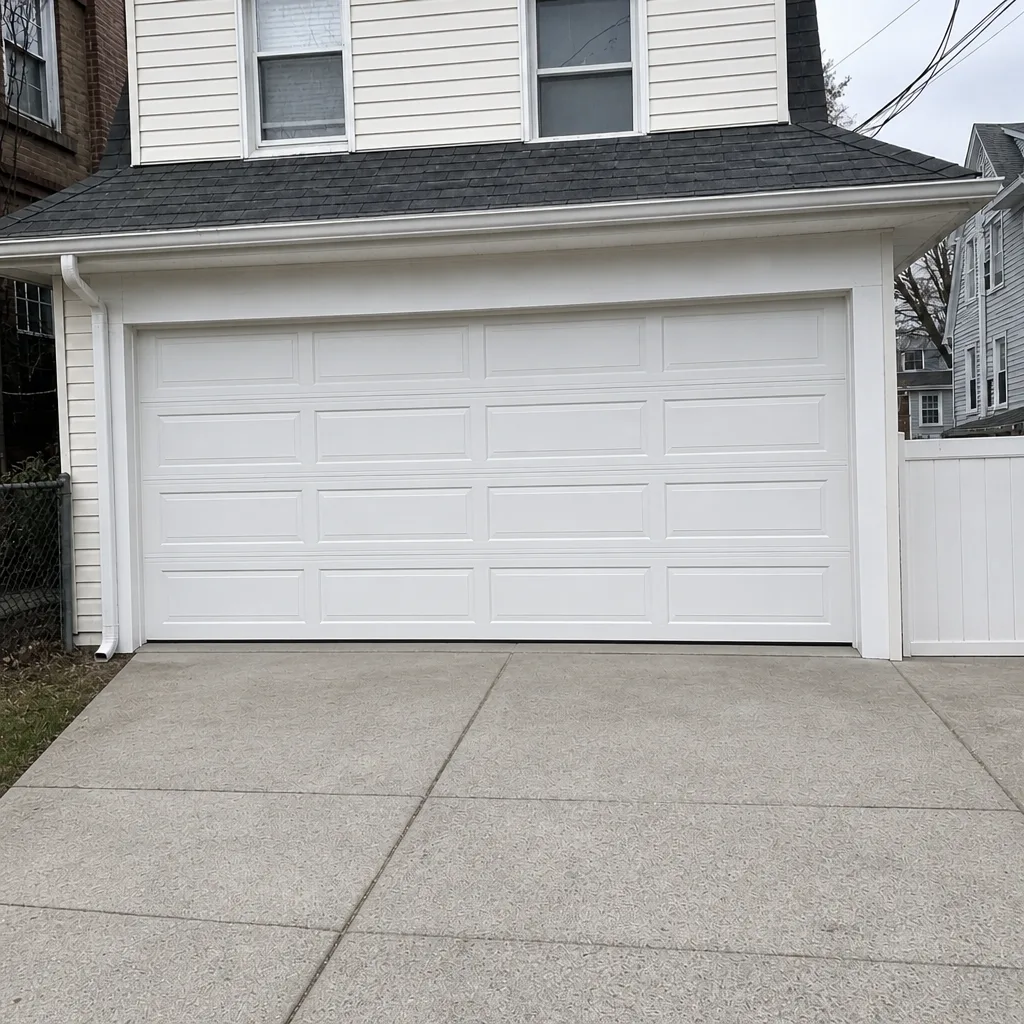 After
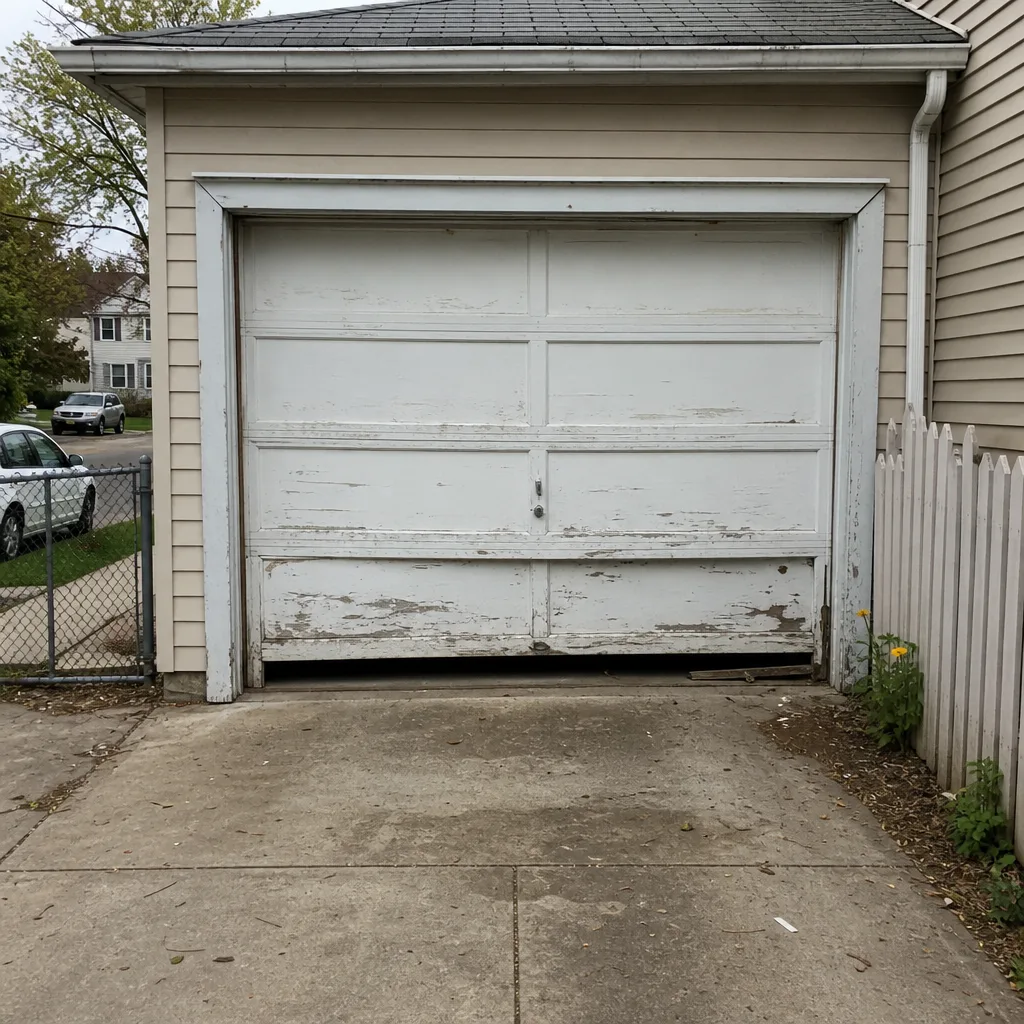 Before
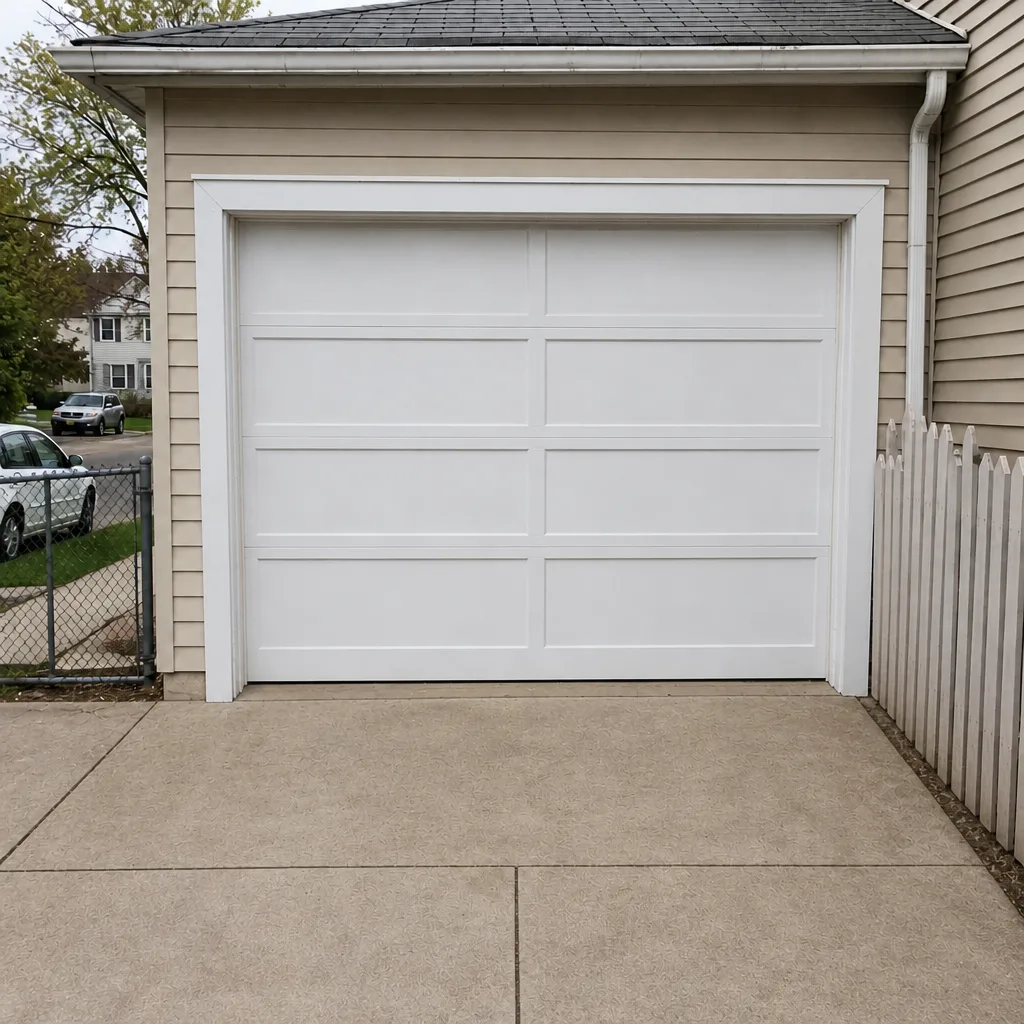 After
When to Call a Professional
Call a specialist when anything on the checklist involves spring tension, cable replacement, opener force adjustments, or a door that’s come off its track. Those aren’t DIY jobs and they’re not worth learning on. Call us when you hear a bang, when the door won’t lift, when the auto-reverse doesn’t work, or when your visual inspection turns up a frayed cable, a bent track, or a hinge that’s cracked. If a door fails at an odd hour and it’s blocking your car or leaving your building exposed, we run garage door repair in Hell’s Kitchen as an emergency service category, not an upsell. A failed spring with the car trapped inside is a call-now situation, not a wait-for-the-weekend one. Garage Door Repair Hell’s Kitchen offers free estimates in Hell’s Kitchen. Call (877) 801-5288 and we’ll get a trained specialist to look at it. Our technicians have up to 9 years of experience, work on every major brand, and will give you a clear answer on what’s failing and what it will take to fix it.
Frequently Asked Questions
Lubricate the hinges, rollers, and torsion bearings monthly, run the balance and auto-reverse tests monthly, do a visual cable and roller inspection quarterly, and book a full professional tune-up once a year. In Hell’s Kitchen specifically, the monthly tasks are worth doing on an actual calendar reminder rather than “when I remember,” because road salt and humidity compress the maintenance window. Call (877) 801-5288 for a free estimate on the annual tune-up.
In our experience, bottom brackets and roller stems go first because they take the most salt and road grit. Torsion springs come next, not from corrosion but from the freeze-thaw cycles stressing them twice a year. The opener drive mechanism is often third, especially on older doors where the rail has collected grit for a few seasons. The monthly routine is designed to catch the first two before they fail, and the annual tune-up catches the third. Call (877) 801-5288 if something already feels off.
No. Torsion springs are wound to a specific tension and held under heavy load. Adjusting them without the right tools and training can cause serious injury. If the balance test fails, or you see a cracked or stretched spring, stop and call a technician. This is the single most important safety item on the checklist. Our technicians are trained specifically on spring systems and will tell you plainly whether the door needs a spring repair or just a tune-up. Call (877) 801-5288 for a free estimate.
Use the 2×4 test for auto-reverse: lay a piece of 2×4 flat on the floor under the door and close it. The door must reverse on contact, not press down. For photo-eye sensors, stand between them and wave an object across the beam while closing; the door must reverse. In dark or tight Hell’s Kitchen garages, wipe the sensor lenses with a dry cloth first and confirm the indicator light on each sensor is steady, not blinking. If either test fails, don’t use the door until it’s adjusted. Call (877) 801-5288 for a same-day check.
Signs you need repair, not maintenance: the door won’t open at all, a spring has visibly snapped or cracked, the door is off its track, a cable is frayed or loose, the auto-reverse doesn’t work, or the opener runs but the door doesn’t move. Any of those means stop and call. Everyday maintenance only covers lubrication, cleaning, and visual checks. Call (877) 801-5288 and we’ll tell you over the phone whether it sounds like a maintenance issue or an emergency.
Yes, and more than in most places, because the salt and humidity here accelerate wear on every steel component. A once-a-year tune-up catches spring tension loss, replaces worn rollers in matched sets, cleans off the corrosion that builds up over twelve months of West Side traffic, and recalibrates the opener force settings. Skipping it doesn’t stop the wear; it just moves the failure to a less convenient time. If your door hasn’t had a tune-up in over a year, call (877) 801-5288 for a free estimate.
The Bottom Line
A Hell’s Kitchen garage door doesn’t fail from age. It fails from skipped lubrication on hardware that sees road salt, humidity, and grit year-round, and from a checklist that was written for a suburban driveway. Follow the monthly lubrication and safety tests, run the quarterly cable and roller inspection, book the annual tune-up, and know the red flags that end the checklist. Springs, cables, and opener force adjustments belong to a trained technician. Everything else you can do in fifteen minutes a month. If the door sounds or feels wrong, don’t push through. That’s what garage door repair is for, and it’s what we do as garage door specialists, not generalists. One call covers tune-up, repair, springs, openers, and full door replacement. Call (877) 801-5288 for a free estimate and we’ll get a trained specialist out to look at it. Our technicians have up to 9 years of experience and work on every major brand, so whatever’s in your bay, we work on your brand.
Written by the team at Garage Door Repair Hell’s Kitchen.